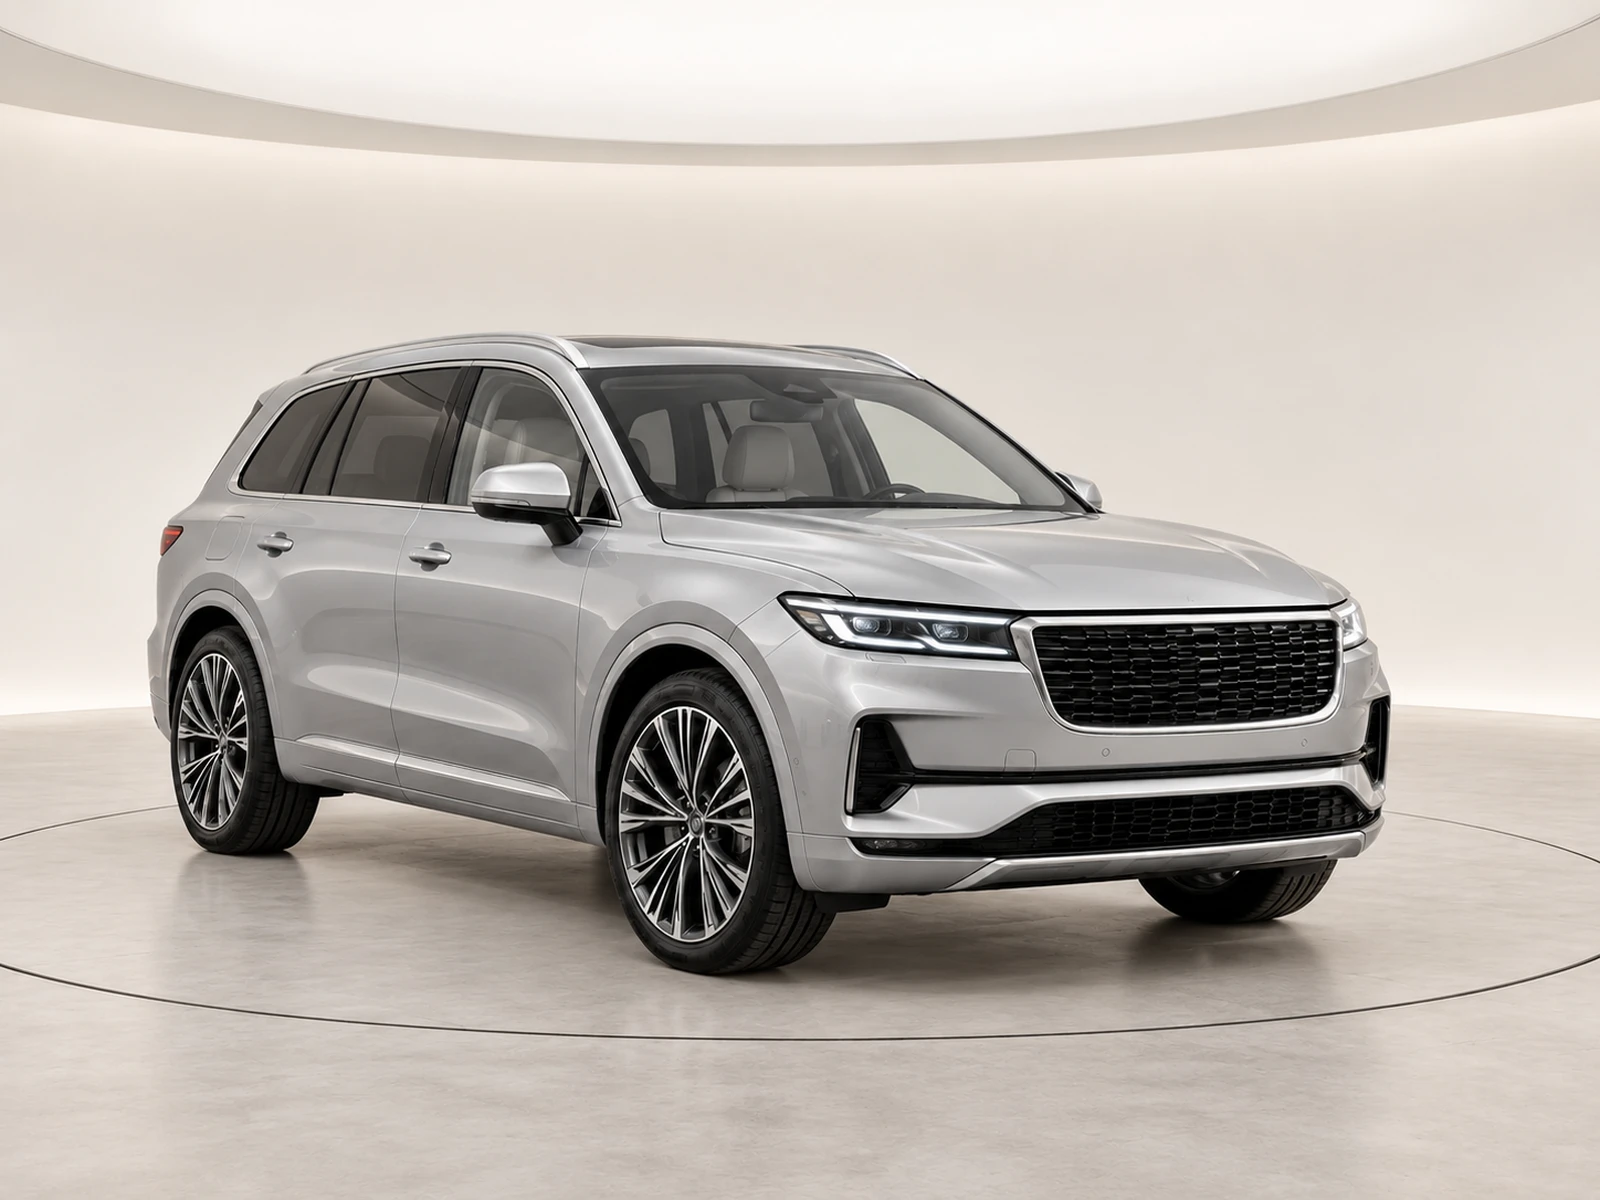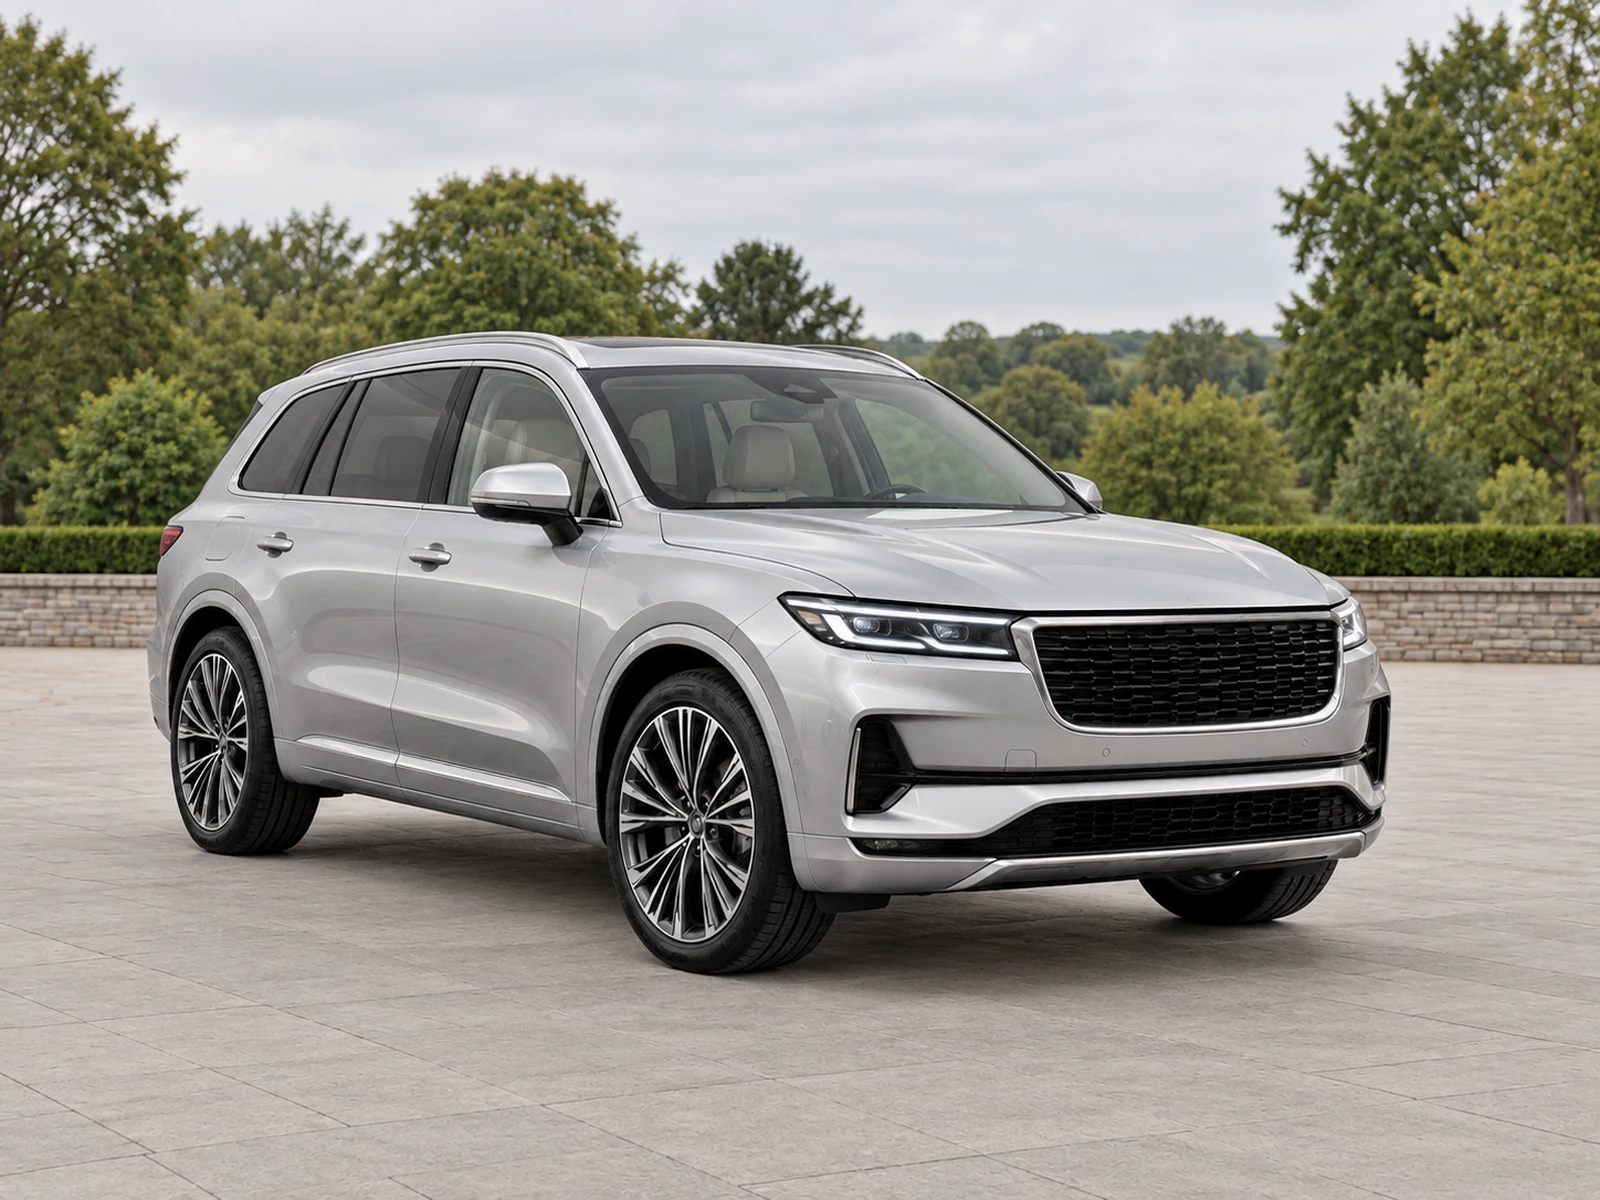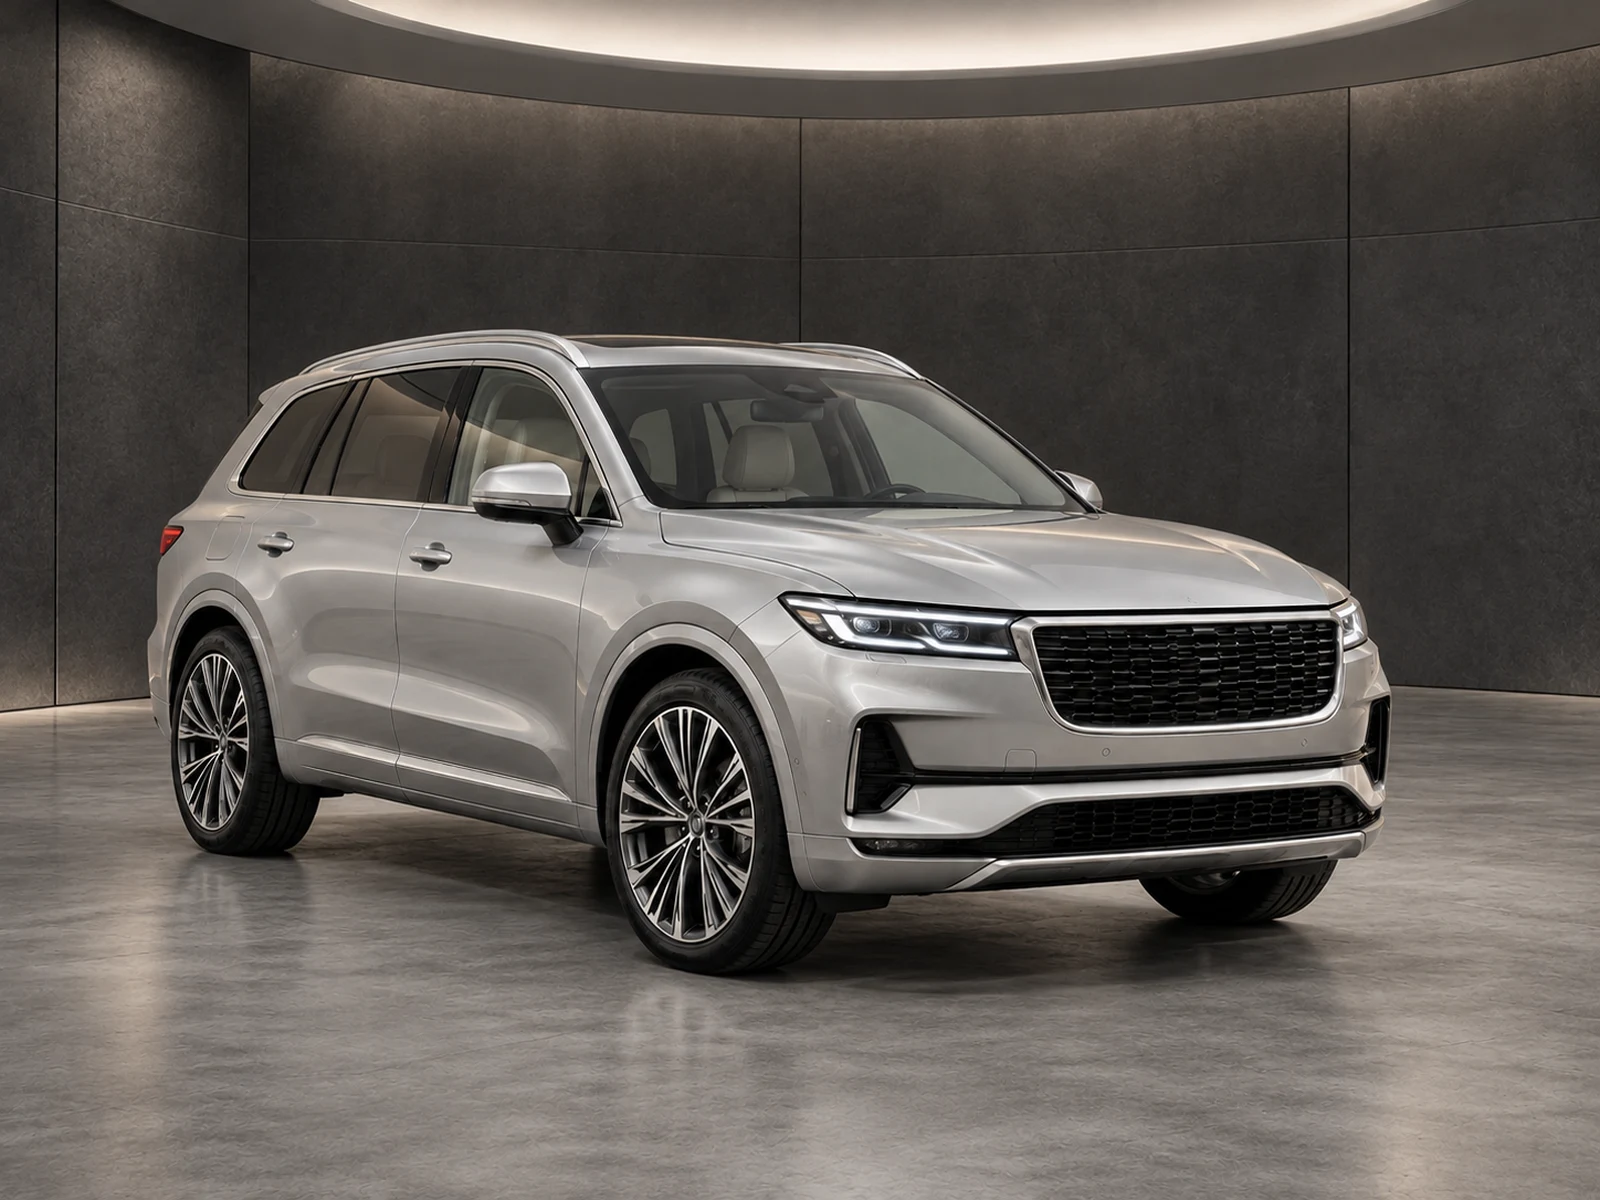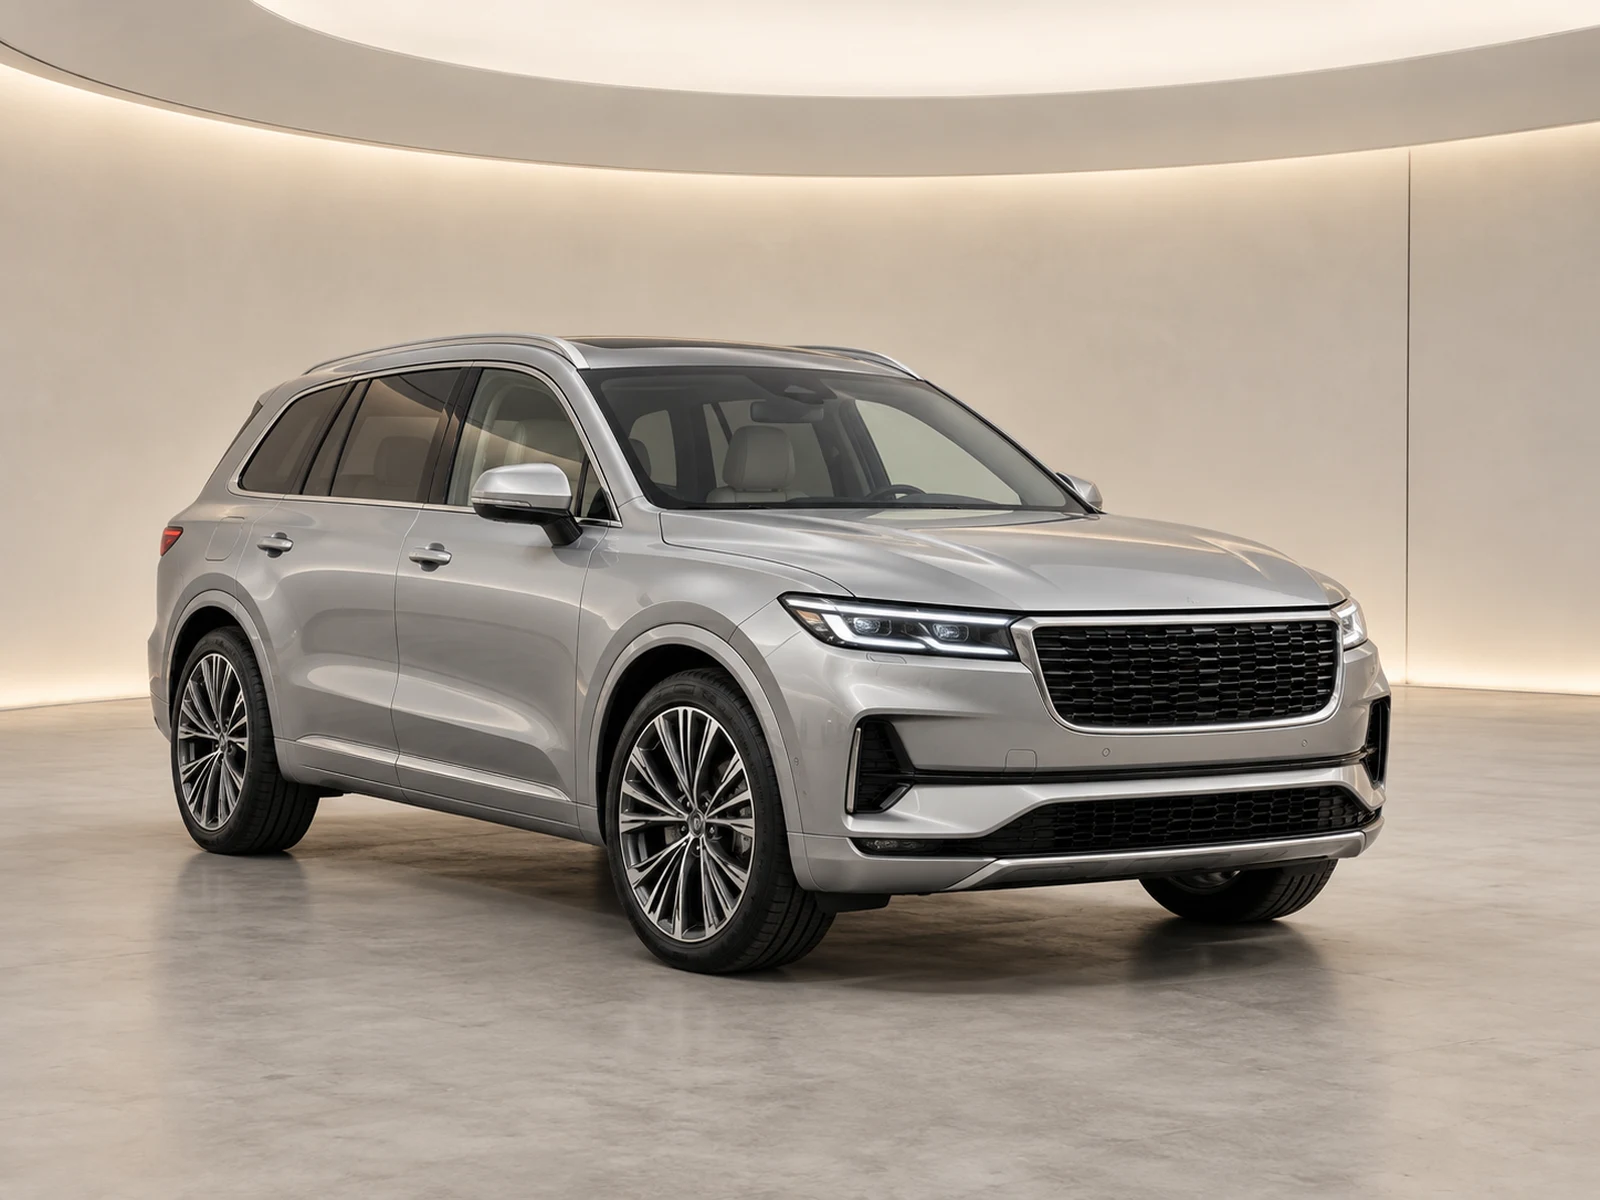
A useful quality benchmark compares repeatable evidence, not the most attractive single result. Build a small set of representative vehicle photographs and score the details your dealership cannot afford to change.
Choose a representative source set
Include dark and pale paint, several body styles, different wheel designs, a cabin, a detail view and visible condition marks. Use the actual kinds of source photographs your team produces. A benchmark made only from perfect studio captures says little about an everyday forecourt workflow. Keep the original files unchanged so later settings can be tested against the same evidence.
Score vehicle accuracy separately from appearance
Create a short checklist for body geometry, handedness, paint, wheels, badges, equipment and visible wear. Then score background perspective, tyre contact, edges and reflections separately. A result that changes a material vehicle detail should not pass because it has an impressive room. Keep the pass criteria understandable to the person who will review real stock after the pilot.
Record the complete settings
Save the showroom, framing, source type and branding choices with the result. Note whether a repair was needed and why. Include time spent checking or reworking images rather than counting only the first generation. Keep the benchmark project separate from a live listing so an unapproved test output cannot be mistaken for a finished stock asset.
Repeat after meaningful changes
Run the benchmark when you change a background, branding process or editing provider configuration. Compare the new results with the originals and the previous reviewed set. Do not assume that one good sample proves every future viewpoint. Use the findings to update capture guidance and acceptance checks, then test the specific problem areas again rather than repeatedly rerunning everything without a reason.
Your dealer checklist.
- Use sources representative of actual dealer captures.
- Include difficult paint and visible wear.
- Separate vehicle fidelity from scene appearance.
- Record settings, repairs and review effort.
- Repeat after meaningful workflow changes.
Common questions.
How large should the benchmark be?
Start with a manageable set that covers your real failure risks. Coverage of different vehicles and conditions matters more than a large collection of similar images.
Should reviewers know which setting produced each image?
A consistent comparison method helps. Where practical, compare without relying on brand labels and use the same acceptance checklist for every result.
Put the next vehicle in a better setting.
Explore MotorBackdrop’s showrooms, prepare one sample and review your vehicle’s details before finishing the set.
Explore your next photo shoot ↗